We’re back with part two of our plushie photo guide. Last time we covered the basics of composition and lighting, so now we’re going to add other elements to make those photos look more interesting. Going to collab cafes or other anime-related events isn’t always a possibility, but we can still take pictures of our favorite plushies to show our love for our favorite characters!
Build a Base
This first tip might require a trip to an arts and crafts store or a few clicks to order online. Get a few poster/illustration boards to use as a mini studio setup. Start with two boards to use as the main background and the surface. You can eventually add to the top and sides if you fully intend on setting up a mini studio. But for now, two boards are enough to give you a foundation to work on. Fabric works fine as well but make sure it’s thick enough to avoid wrinkling or letting too much light bleed through. It’s a very basic setup, but a good launch pad for other ideas. Other neutral colors or textures can work as well to give you a versatile workspace.
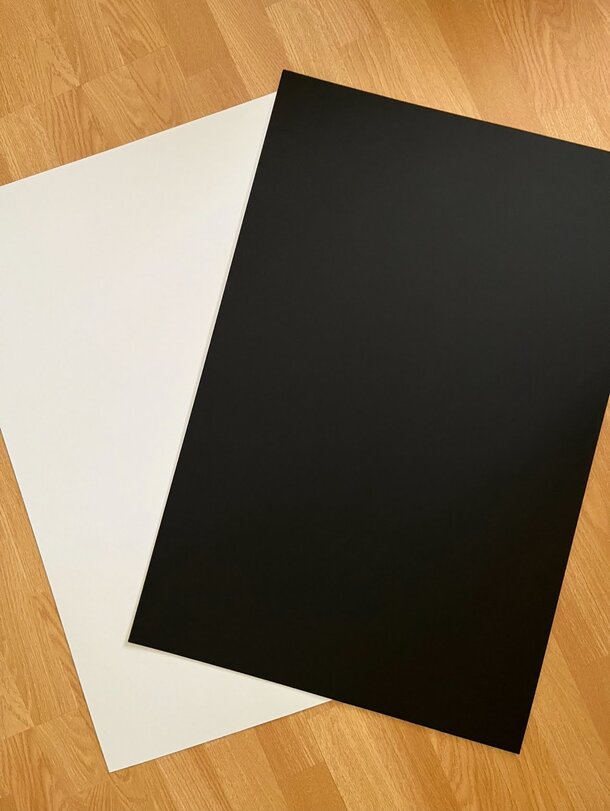
Art boards create a good base to work on if you plan to take photos at home
Next, get some backdrops. In professional studios, fabrics like canvas and muslin are used as backgrounds in portraits and product shoots. For plushies, take inspiration from the character’s colors, themes, etc. and get scrapbook paper or even some interesting gift wrapping paper. You can even use posters from the show or game your plushie’s from.
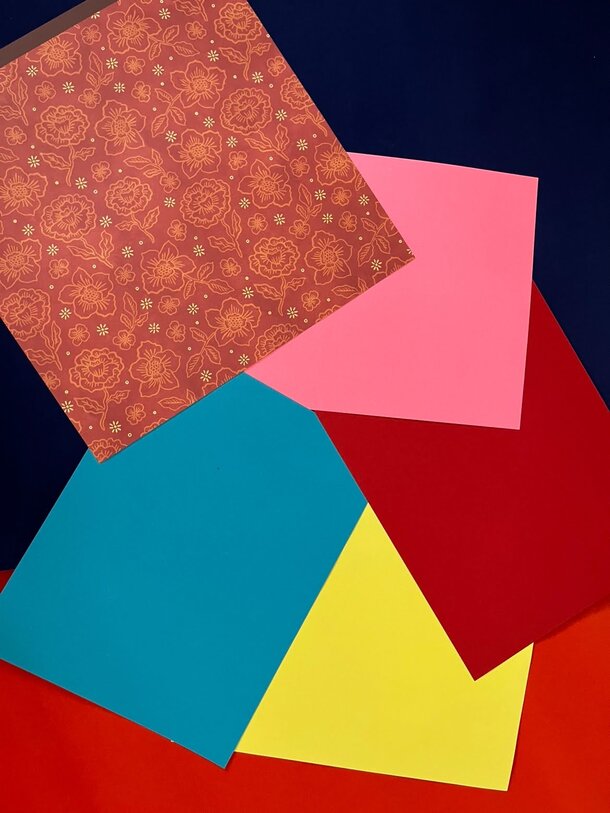
Pick up some scrapbook or craft paper to use as backdrops
A neutral background is easy to add other design elements to while a decorative one can make it look more interesting
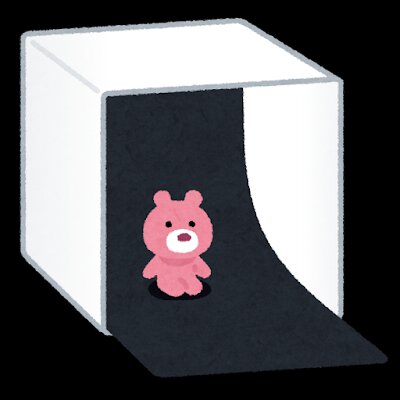
You can build a mini portrait studio for your plushies with a few boards and a backdrop
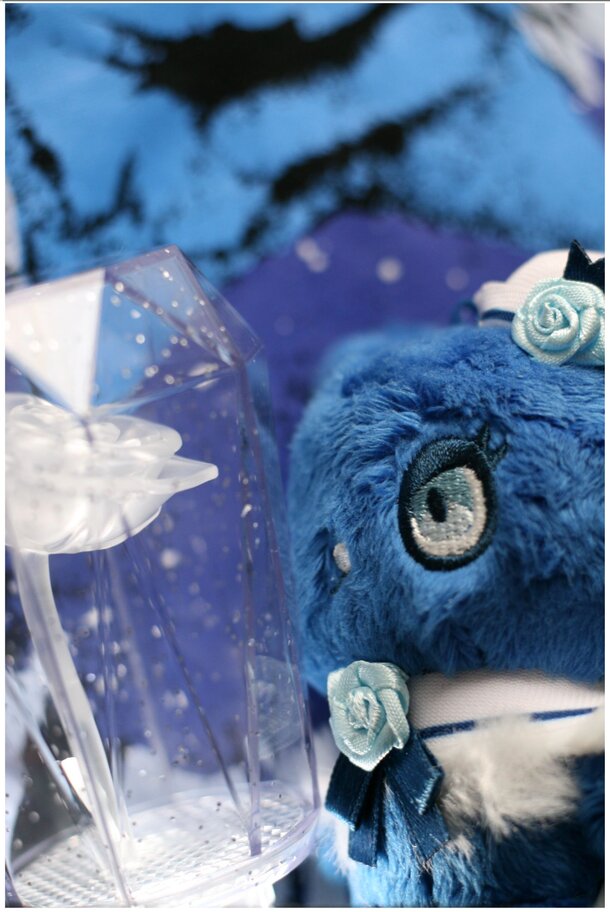
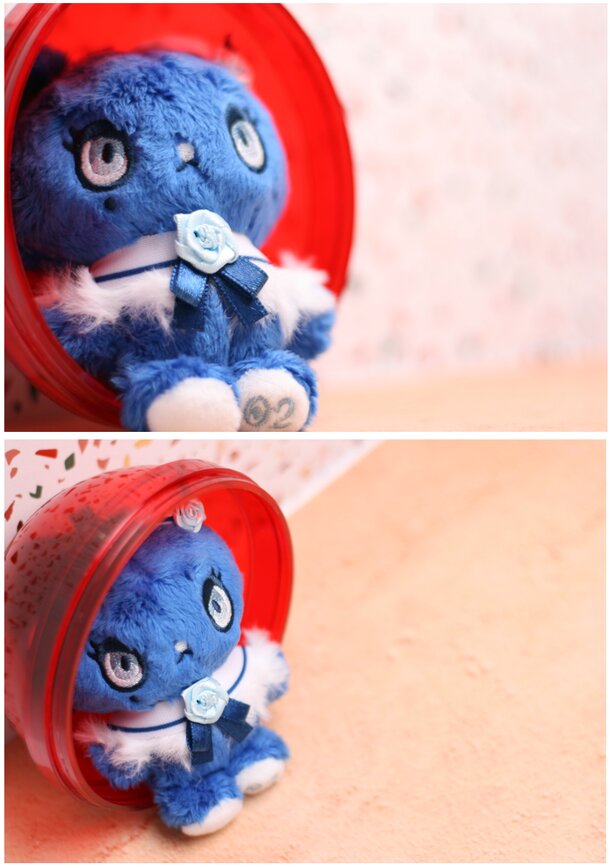
While you’re shopping at the art store, be on the lookout for other things you can use in your photoshoots. Scrapbooking supplies are great for simple decorations. Again, take a look at your plushie and think about what colors and patterns might suit it.
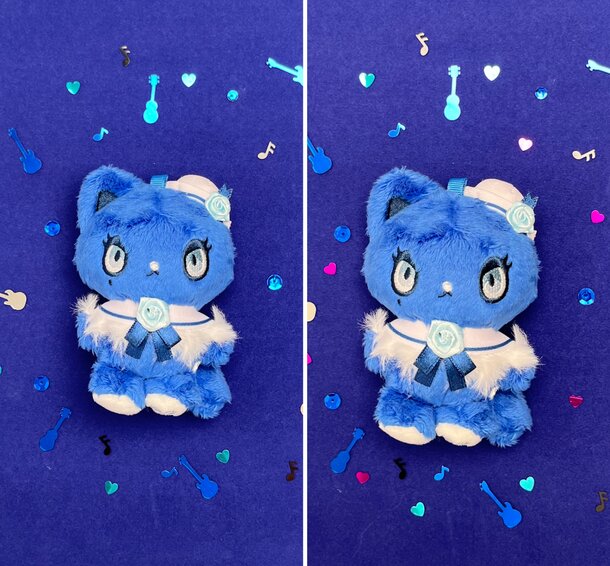
Work color combinations and themes into your photos
It’s also a good idea to have other office supplies within reach like binder clips and tape. These help your backgrounds stay in place, but most importantly they can hold your plushies upright. You might’ve noticed a lot of plushie designs aren’t structurally capable of standing on their own so use these to provide support and balance. Just be careful when using certain types of tape or strong adhesives as they could damage your plushie when you remove them!
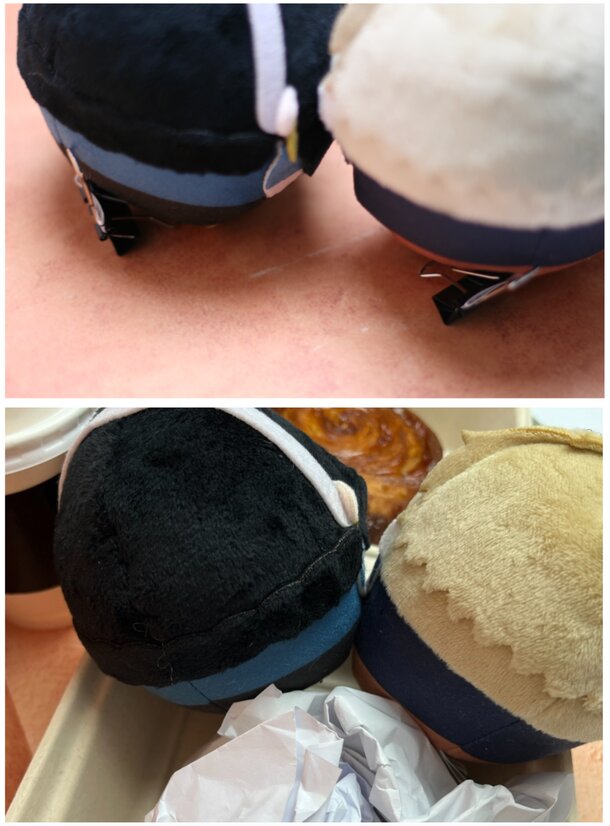
Use clips or whatever you have lying around to keep your plushies in the right position
Now that you have your plushie in place, you can start snapping away. Once you’re satisfied with your plushie setup, try changing the tone of your photo by using different light sources.
Light Elements
You might be wondering why lights are mentioned again. Didn’t we cover this last time? We talked about lighting from a technical standpoint, but you can also manipulate it to create the mood for your photos. If you have fairy lights, holiday lights, or even RGB lights on your PC setup, you can use those to add a distinct effect to the scene.
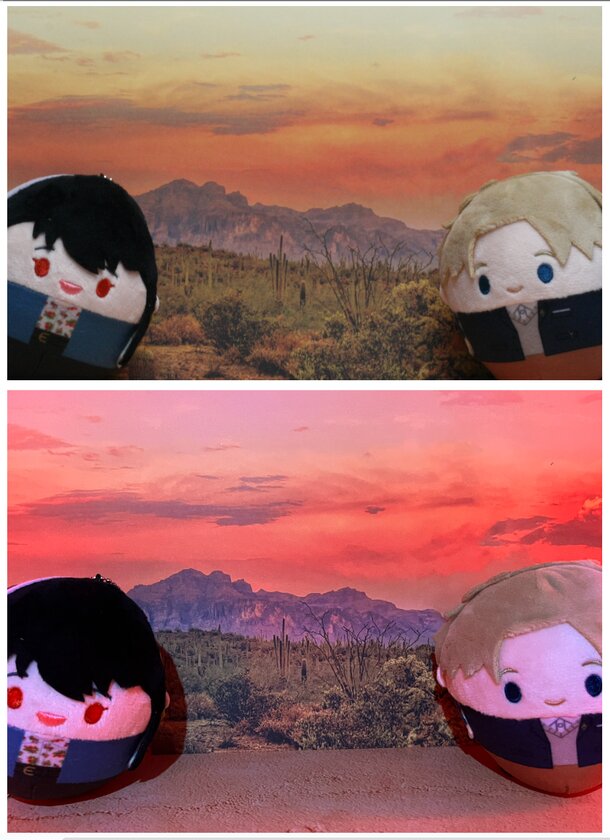
Top: regular white overhead light
Bottom: Overhead light + RGB lights set to red/orange to imitate sunset colors
You can get extra creative and use your computer or TV screens, too. Check for backlight settings (not to be confused with the screen’s brightness setting) to make sure you’re getting enough light for your desired shot. The screen can also be used as a bonus background for your plushie.
Making sure photos look good on the computer screen
Pick Your Add-ons
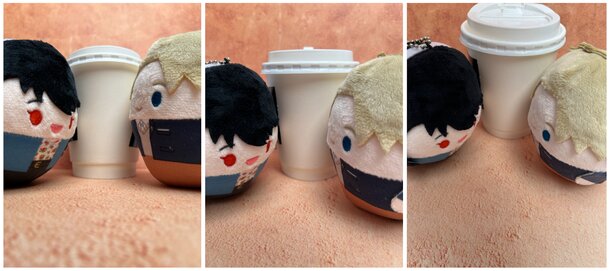
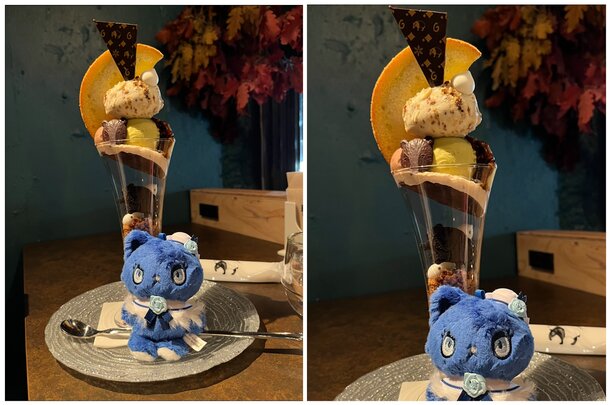
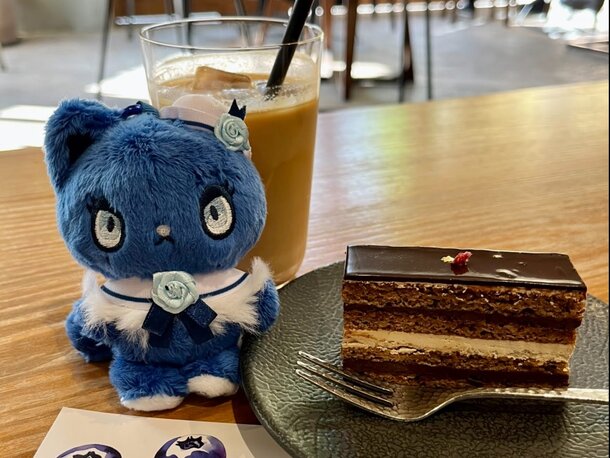
Your plushies don’t have to be the only things in the photo. You might not be able to go to a cafe to take pictures, but maybe you can bring the cafe to your home. Or grab some of your favorite takeout and take some pictures with your plushies enjoying the meal too.
Don’t forget you can add backgrounds even for pictures with takeout
Be sure to clean out containers thoroughly before using them for your plushies
Turn a coffee run into your plushies’ coffee date
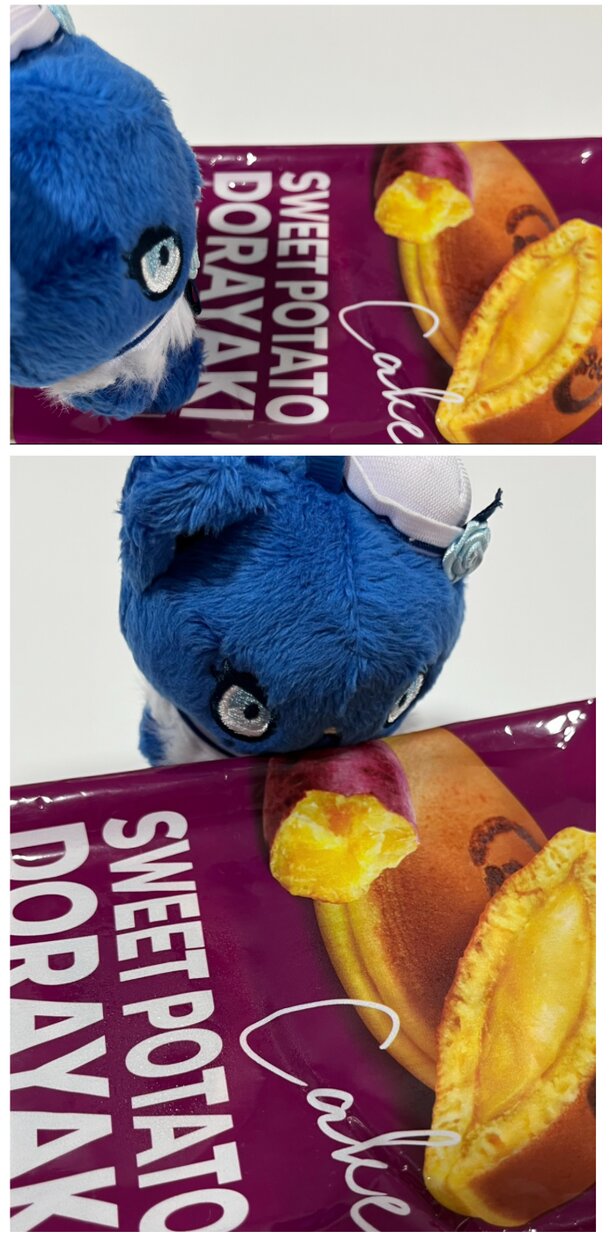
Even if you can’t get new outfits for your plushies to wear, try adding your own unique accessories or use your favorite anime shirt as a background for their photos. Have fun styling your plushie photos and see what kind of pictures you come up with!
Use merch with similar visuals or designs to style your photos
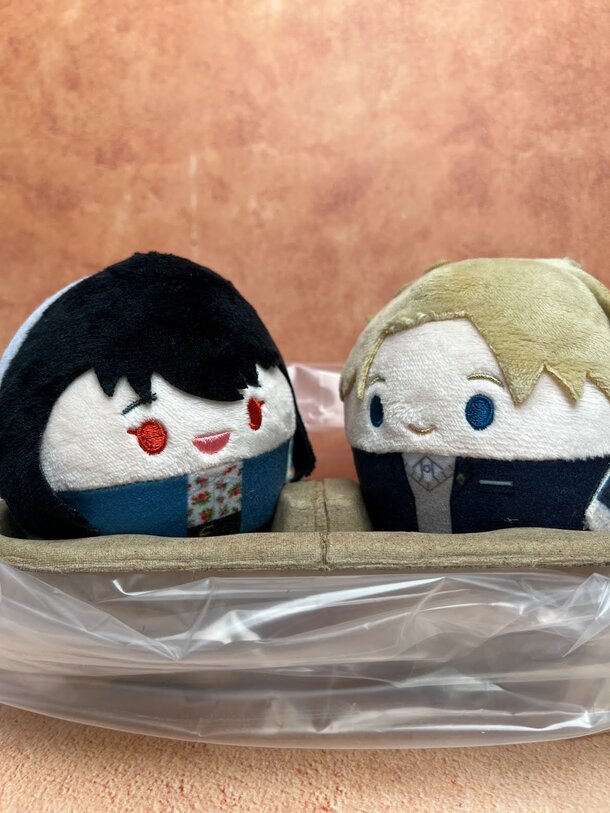
Tons of oshikatsu photos aren’t just at events. Plenty of fans take pictures of their everyday chores and activities with their favorite plushies to make it more fun. Even other hobbies that you love can be part of your plushie photos.
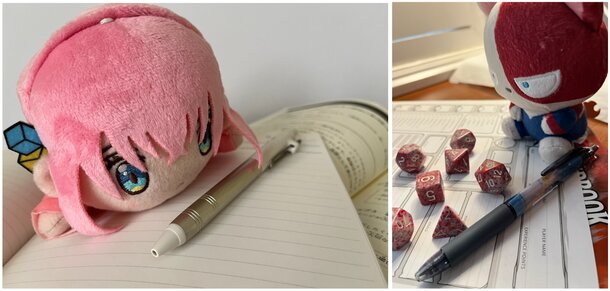
Whether you’re studying for an exam or getting ready for a game, get your plushie to join you
Extra Skill Points
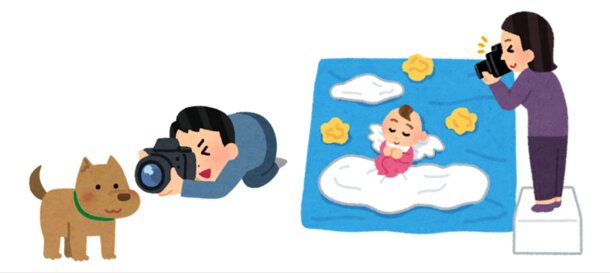
When we take pictures, there’s a tendency to take the photo from where we are. And that’s fine—especially if you’re somewhere crowded or have limited space. But sometimes we end up forgetting we can take photos in different ways, not just taking it as it is when we open the camera app.
Orientation
One of the easiest ways to break this habit is by simply practicing with different camera orientations: portrait (vertical) and landscape (horizontal). This seems really basic but it’s a good step to developing a routine as a photographer.
Try moving your plushie around or orientating your camera to get a variety of shots
Top: Landscape oriented photo; Bottom: Portrait oriented photo
Angles
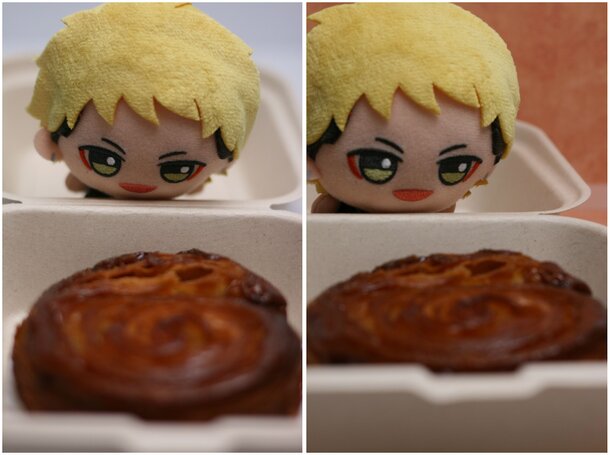
From changing your camera orientation, you can move to taking photos at different angles. Try kneeling down on the floor or getting on a step stool to get big changes in perspective. Once you get the hang of this, you won’t have to take photos from extreme angles. But hopefully you’ve developed a habit of moving around and shooting from different areas.
Even small changes in angles can give you unique photos
Left: Taken close to the ground; Middle: Taken straight ahead; Right: Taken from a higher angle
A shift in perspective can even make your plushie’s expression look different
Editing
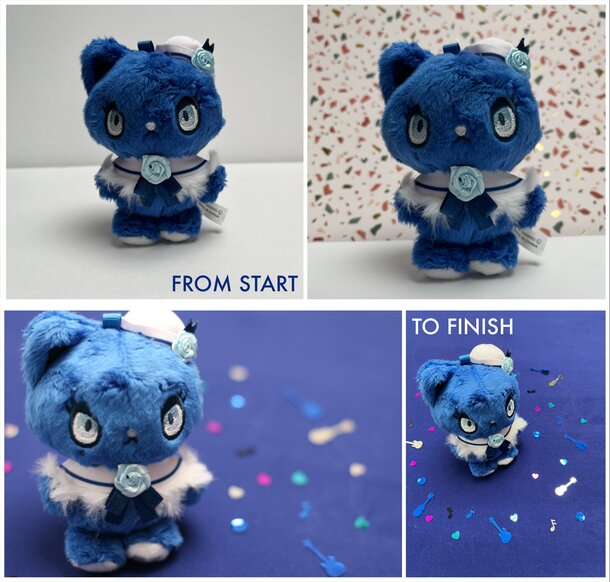
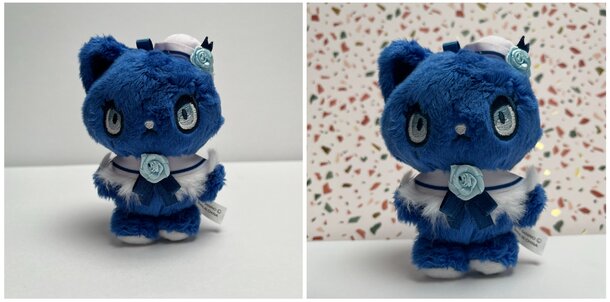
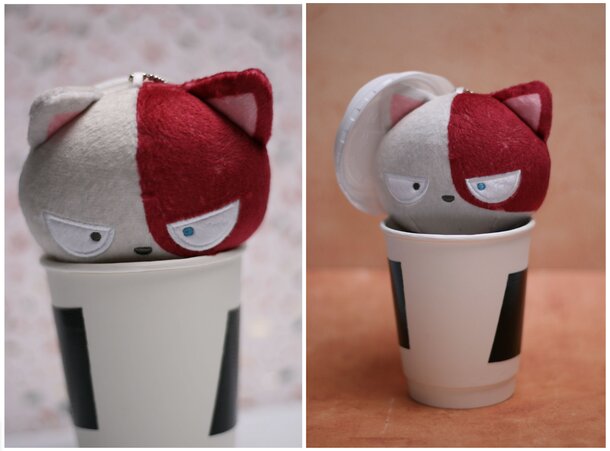
Photo editing is another good skill to develop. You don’t need to be an expert at it but a few minor changes can give you really great photos. Even by simply cropping photos, you get rid of unnecessary elements in the background and lessen visual clutter. This helps put focus on the main subject of your photo.
Left: Original photo; Right: Cropped to get rid of extra space and random items in the background
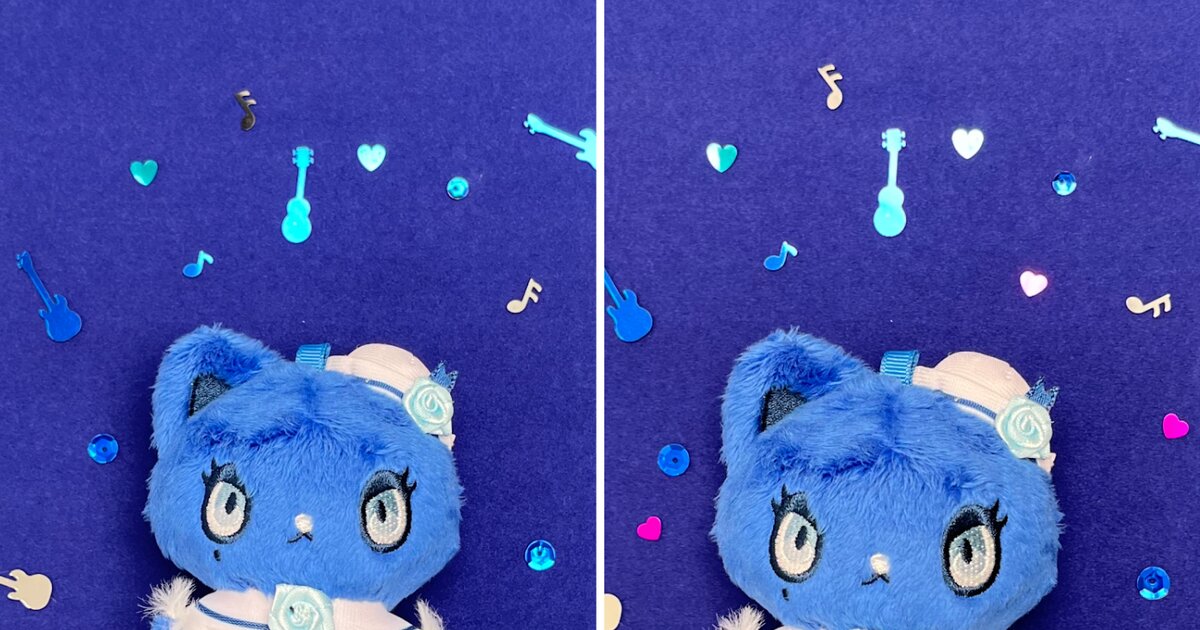
You don’t have to invest in photo editing apps or software to improve the look of your plushie’s photos. A lot of smartphones have auto-enhance features so you just have to tap a button. And photo filters can quickly shift the look and mood of your picture. But it’s a good idea to learn about the different elements you can adjust like contrast, saturation, sharpness, etc. Understanding these will help you gain better control when you edit pictures.
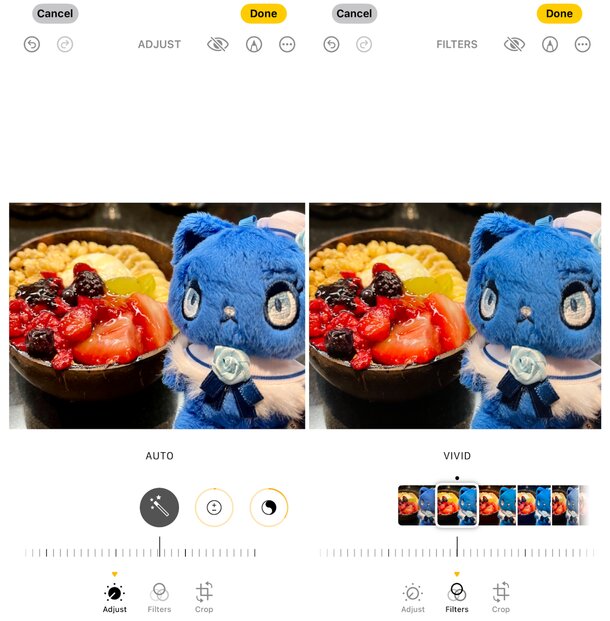
Don’t be afraid to experiment with your phone’s built-in editing features
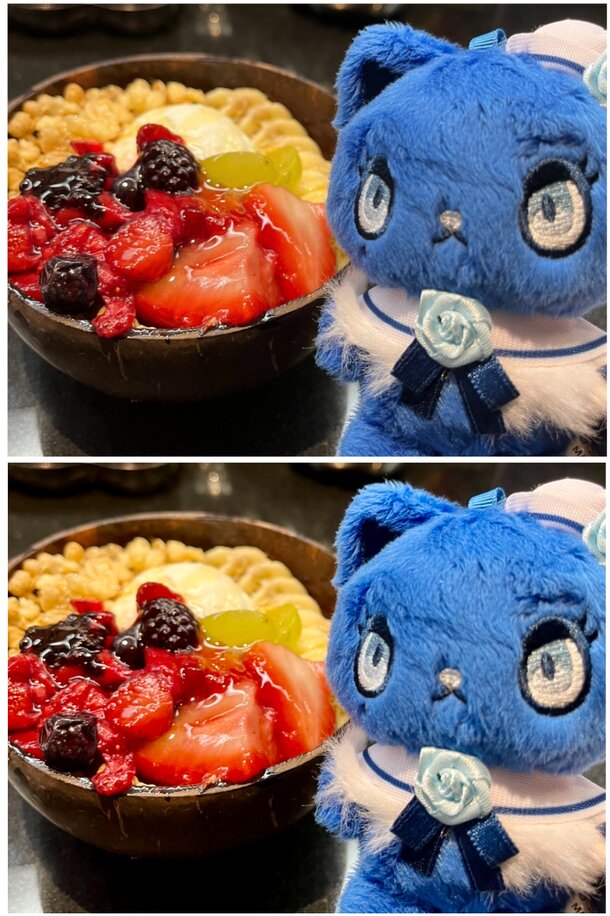
Enhancing your photos doesn’t have to involve drastic changes
Remember to duplicate or copy the photo you want to work on before you do any edits. Some smartphones allow you to return to the original photo, but it’s good to work on a copy (or several copies) so you can quickly swipe to compare and decide which ones you like best.
And that’s a wrap on our plushie photo guide. You can work on these tips at home to help you develop better habits as a photographer. So when you do get a chance to visit a nice coffee shop or other exciting place with your plushie, try applying what you’ve learned.
Be ready when you’re able to oshikatsu at a stylish venue
Show us your favorite plushie photos on socials and share how you oshikatsu with your plushies on our socials!


0 Comments