You’ve seen photos of plushies at fancy cafes or wearing cute outfits outdoors. It’s one way people take part in oshikatsu. Sometimes, though, a nice cafe might be too far away or you can’t splurge on plushie costumes and accessories at the moment. If that’s the case, don’t worry—we’re here with our new guide to level up a simple plushie photoshoot.
Before the fun stuff, though, we have to start off with some technical photography tips. Even with a smartphone or basic digital camera, you can take great photos if you work on two elements: composition and lighting.
Compose the Shot
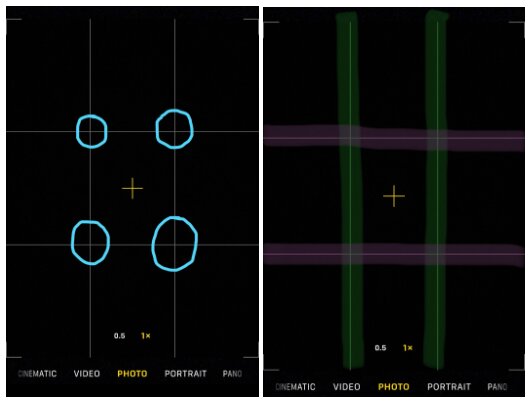
Composition, or how you arrange the subject of your image, can make a photo look more appealing. Seasoned artists and photographers have practiced this enough that it becomes second nature to them, but they may still use tools like grid lines to guide them. And luckily, most smartphones and cameras now have a grid line option you can turn on.
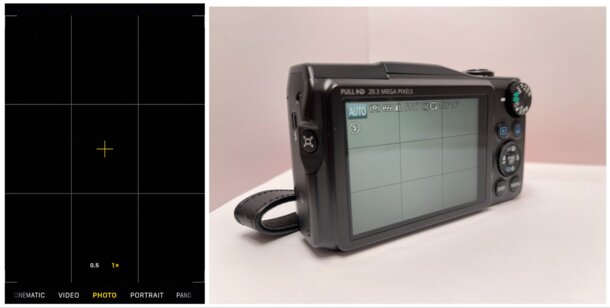
Left: Grid lines on a smartphone camera; Right: Digital camera with grid lines turned on
While grid lines are super helpful when you want to center your subject, they’re also a great way to start learning other forms of composition.
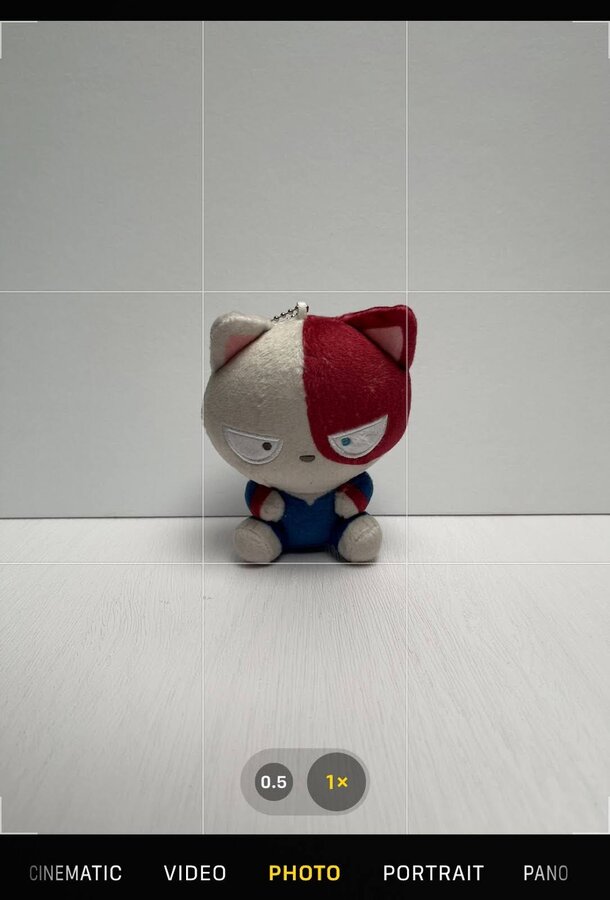
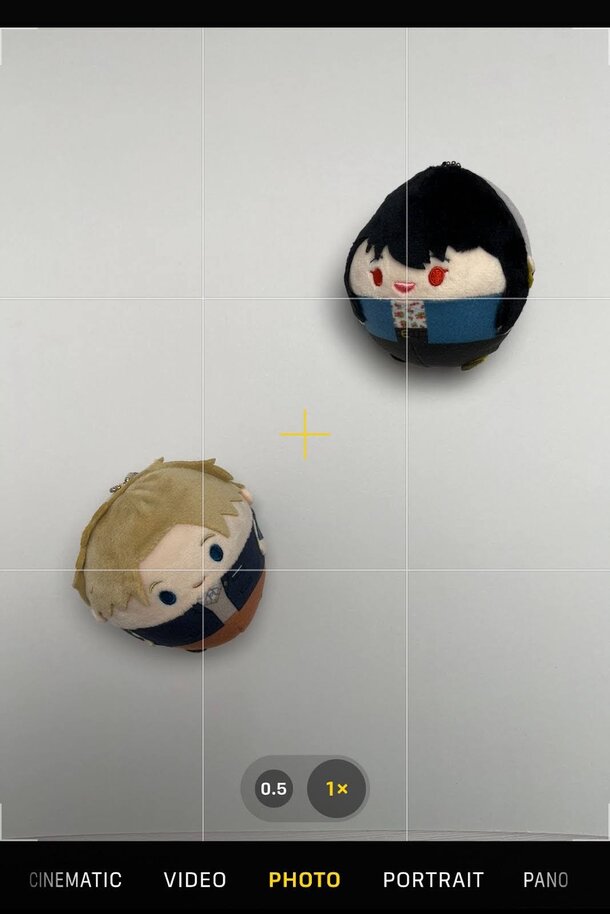
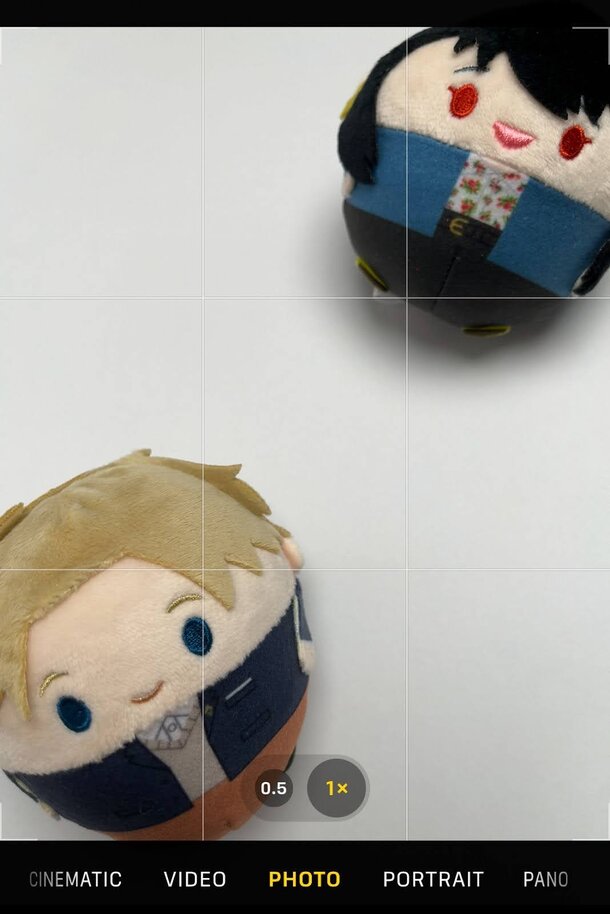
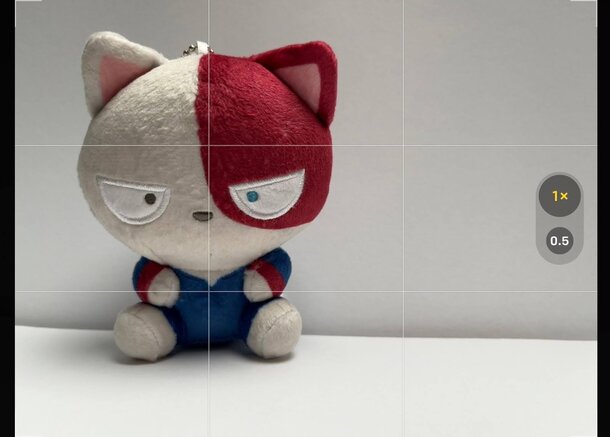
Using the grid to keep the plushie centered
Despite the many different genres of anime, visual artists like animators and mangaka learn the same basic compositional skills to make their work more dynamic and visually appealing. If you’ve seen layouts for anime scenes or drafts of manga panels, chances are the people who drew them put a lot of thought into composition. Take a look at the following samples and where the subjects are within the frame. Do you notice a pattern?


If you can imagine each picture with grid lines over them, you’re already thinking of the most basic composition technique: the rule of thirds. Despite its name, the rule of thirds isn’t so much a rule you always have to follow, but more of a guide or first step to learning composition. When we take photos, we usually try to keep the subject centered. However, you can add more variety to your photos by changing where your subject is in relation to the intersecting points and lines on the grid.
Left: intersecting points; Right: Horizontal and vertical grid lines
Take your photo using these to practice composition skills
The rule of thirds is easy to follow, but it might feel very staged at first. With time and practice, though, composition will come more naturally!
Positioning plushies on intersections
Positioning plushies within rectangle segments
Positioning plushies along intersections and lines
And even if you just want a regular centered photo of your plushie friend, you can still employ the rule of thirds to make the shot look different.
The part where the ground and wall meet falls along one of the grid lines
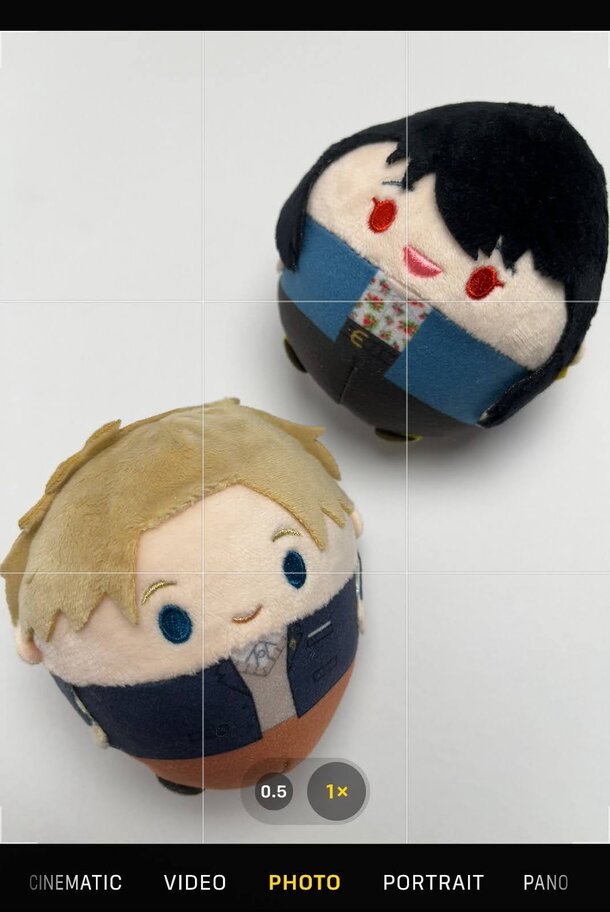
Aligning both plushies with the vertical lines
Filling up two thirds of the photo with the plushie
Get to know the rule of thirds and you’ll see how it’s used in all kinds of visual material, from manga panels to marketing photos for goods. Check out art books from your favorite series and study how the artists compose their drawings. Then try to use those composition techniques for your plushie photos.
And once you get a better feel for composition, you can take the next step in your plushie photography practice by switching up the lighting.
Light it Up
You don’t need a full studio setup to show off your plushie’s good side. Like taking selfies or other photos, having a good source of light is enough. If there’s a decent amount of sunlight, then you’re good to go!
A plushie photoshoot is a good excuse to go outside
Be careful when you shoot outside in direct sunlight, though. Too much light can wash out colors or make your plushies look weirdly shiny depending on the material. On the other hand, you might be trying to take a photo but it’s coming out a bit too dark. If you can get a friend to use their phone’s flashlight or some other portable light source, it can help make a photo look better. Avoid relying on camera flash unless you’re used to it because it can make lighting look uneven.
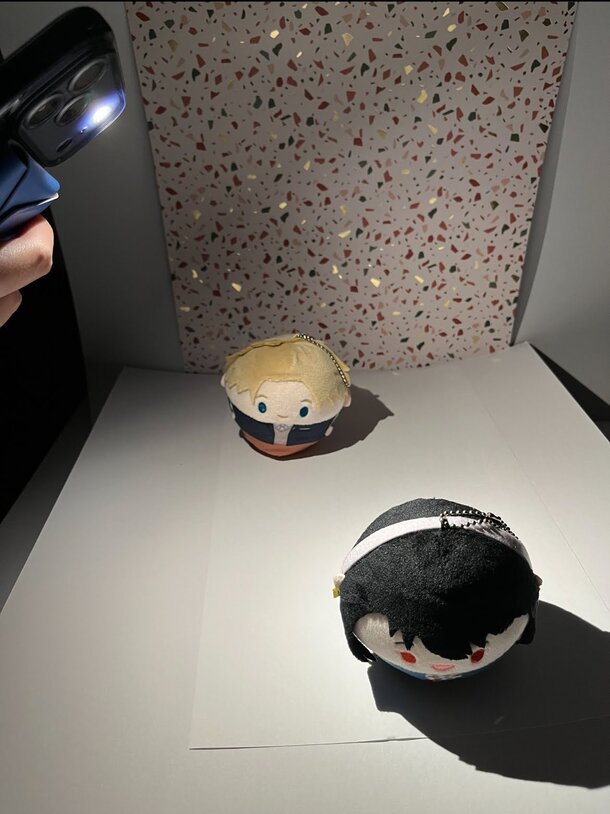
Don’t be afraid to ask for help
Knowing how lighting works is also how you can achieve all kinds of different effects for your photos. Try experimenting with the direction of your light source to see how it changes the look or mood of your photo.
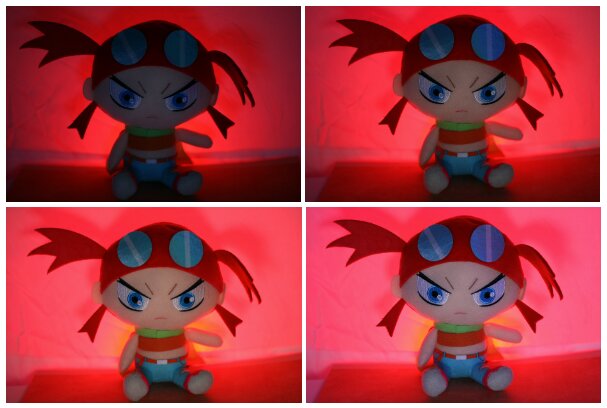
Lighting plushies from the front (left), side (middle), and back (right)
Most photographers learn about the exposure triangle. Exposure is how much light hits your camera’s sensors and basically affects how dark or bright the resulting image is. And the exposure triangle has three components: ISO, shutter speed, and aperture.
Since most of us are here to take casual photos of our plushies, we’re not going too in-depth about these things. Plus, most modern smartphones have an auto-expose feature or quick exposure adjustment setting to make it relatively easy. But you can still play with some of these settings to fine-tune your photos.
Aperture
Aperture refers to how wide the camera’s lens opens: the wider the opening, the more light. But it also affects the depth of field of a photo or that blur that happens around the subject of the picture.
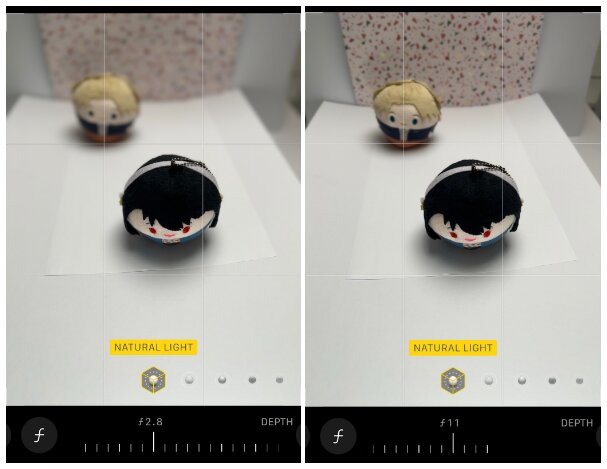
Lower f-stop number (left) → wider lens opening → more blur between the subject and the foreground/background
Higher f-stop number (right) → narrower lens opening → less blur between the subject and the foreground/background
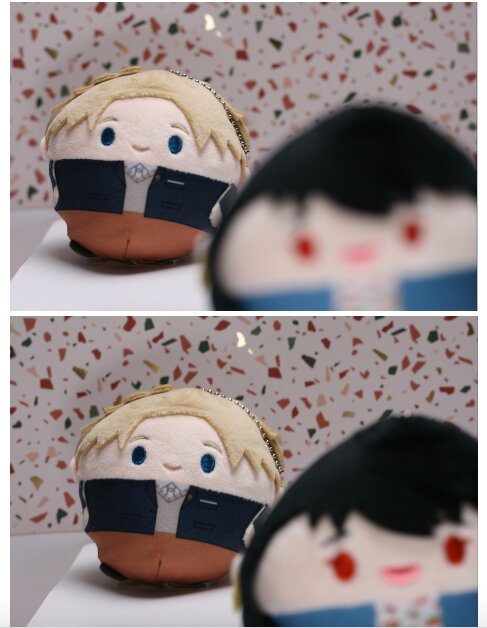
Try different aperture settings to see how it changes the background and foreground
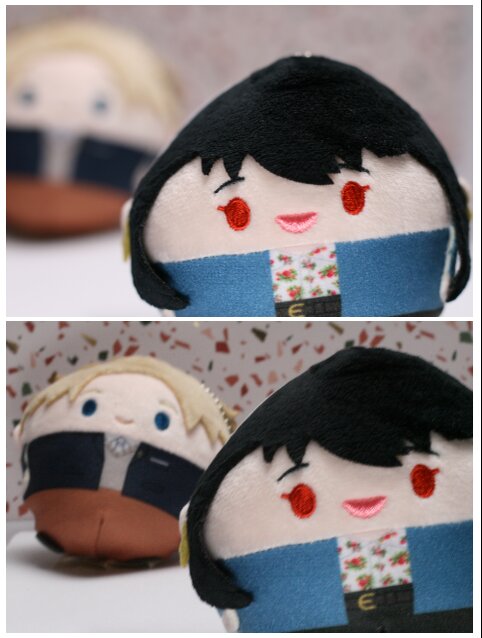
A blurred background can help really put focus on your plushie, but you can adjust aperture to lessen the blur if your plushies are a bit far from each other.
ISO
ISO is basically how sensitive a roll of film or a digital camera’s sensor is to light. A lower number means it’s less sensitive, therefore it needs lots of light. So if you’re shooting something in a dark room, you might want to increase the ISO. But higher ISO settings may lead to a grainy or “noisier” photo. You won’t need to worry too much about this unless you plan to make giant posters of your plushie’s photos, but it’s good to keep in mind.
Top Left: ISO 100; Top Right: ISO 200
Bottom Left: ISO 400; Bottom Right: ISO 800
Most smartphones allow you to adjust the ISO via an exposure slider. It makes it easier to make your photo look darker or brighter before snapping the shot. And a good rule of thumb is to get as close to the result you want when you take a photo rather than doing heavy editing that could degrade the image file’s quality.
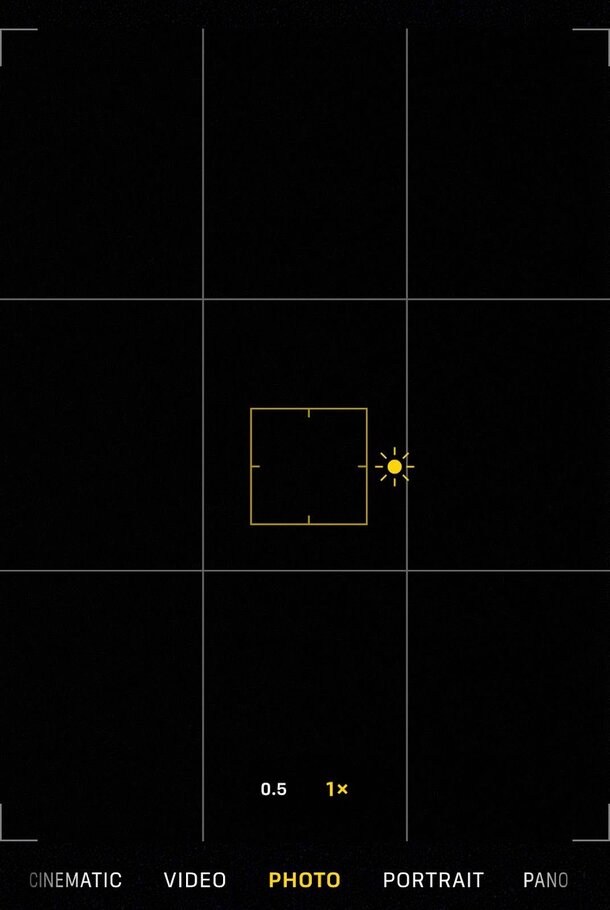
Exposure adjustment on a smartphone (slide to adjust)
Left: Regular photo; Right: Exposure lowered before taking the photo
Shutter Speed
Shutter speed is the last part of the exposure triangle, and can also make for some really interesting effects. Unfortunately, smartphone cameras don’t give you a lot of manual control over how fast the shutter clicks. But using the burst mode on your phone can still help you take some meme-worthy shots.
Even a top spy like Loid Forger can’t escape unflattering photos
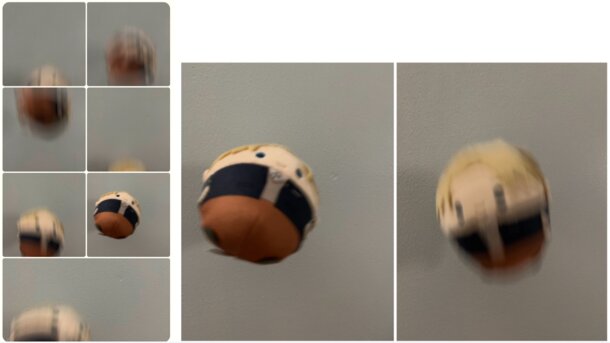
If you do have a camera that allows you to adjust shutter speed, it’s a great way to take photos in low light settings. Sometimes even the widest aperture setting doesn’t provide enough light for your photo. Most cameras compensate for this by automatically setting a slow shutter speed. You might notice sometimes a photo looks blurry and it’s because the camera moved before the shutter clicked.

Shutter speed of 1/15 already has some motion blur in a barely lit room
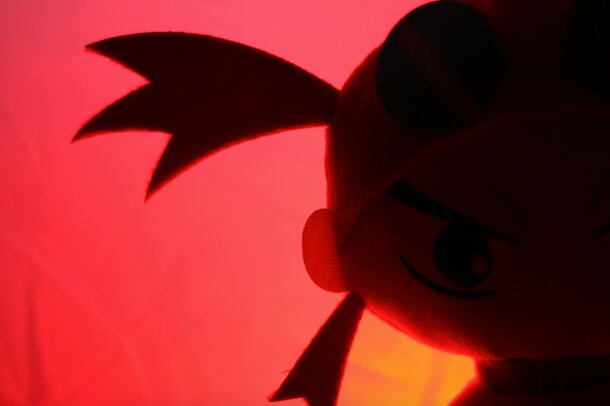
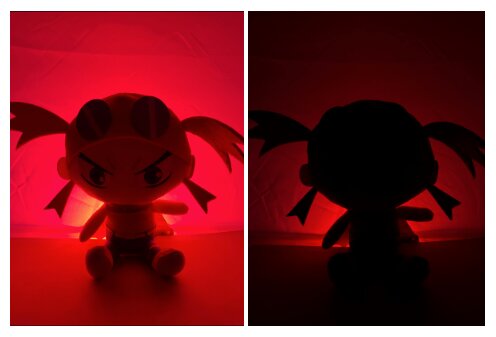
You can achieve silhouette effects with a fast shutter speed and bright lights in the background
With these in mind, you can start troubleshooting next time you take a photo that you don’t quite like. And it’s okay to take photos that don’t turn out too well! Ask yourself what feels off about the photo and adjust it through composition or lighting. Let’s say the picture looks a bit dark (underexposed) or a bit bright (overexposed). Think about what changes to exposure you can make to get the right amount of light before doing any edits on the picture itself.
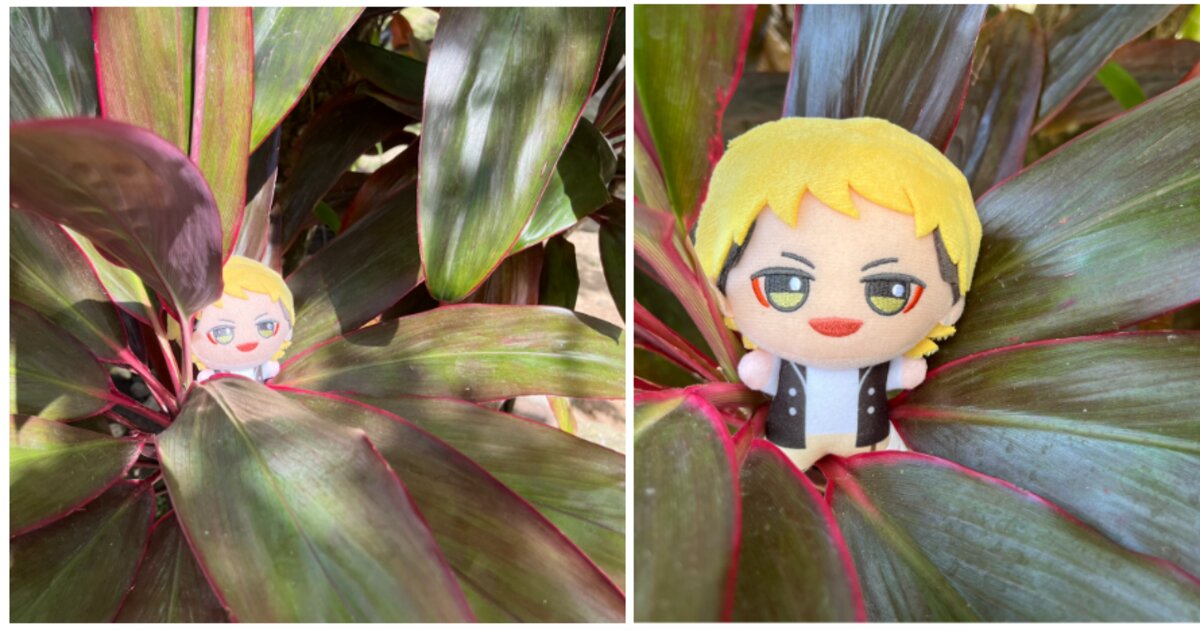
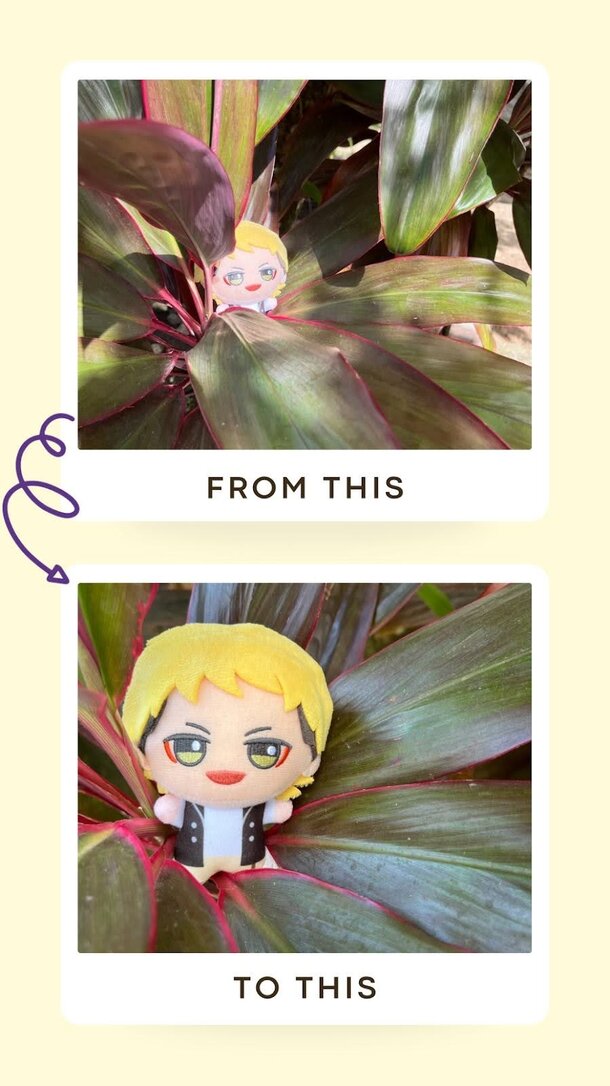
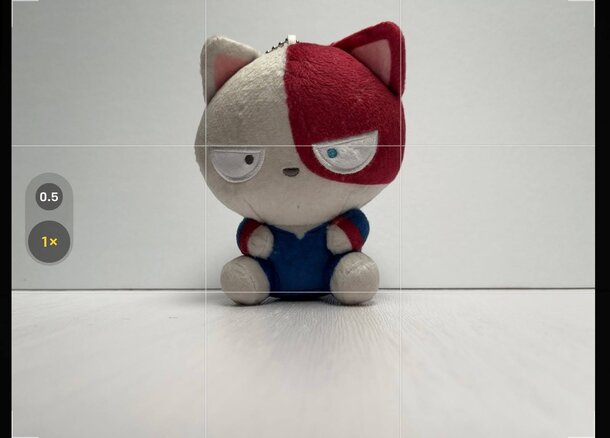
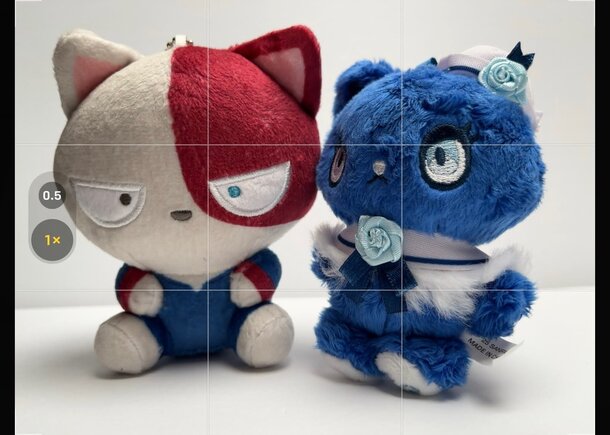
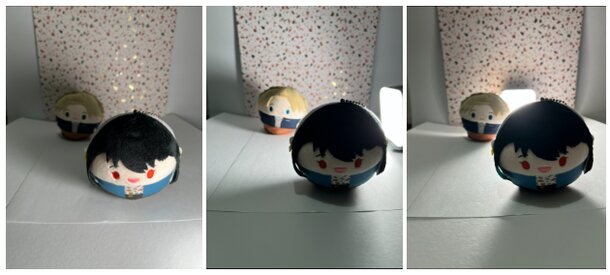
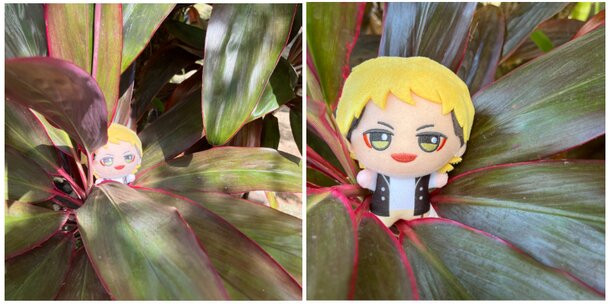
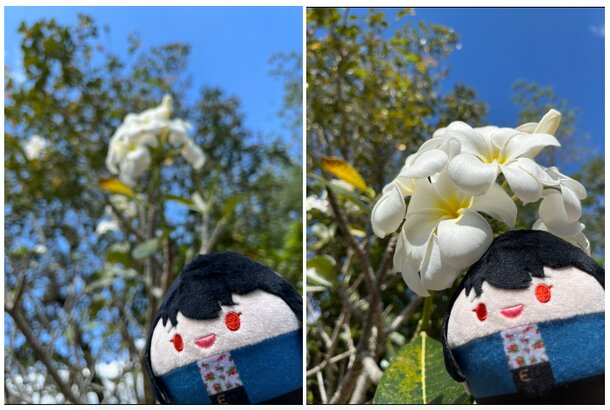
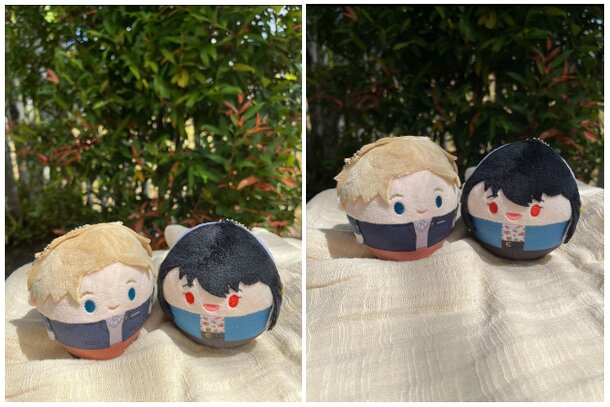
Also try to look at other plushie pics and see what you like about them and what you might change. They might not even be bad pictures but could still improve with minor changes. Check out each pair of photos below and think about why you like one more than the other in terms of composition and lighting.
That’s all we have for now. Next time we’ll cover some ideas for your next plushie photoshoot that you can do in the comfort of your own home. Let us know if you used any of these tips and tag us with your plushie photos!


0 Comments